
Are you looking to make a video on a budget? Making videos can be expensive, but it doesn’t have to be. There are many free tools available that allow anyone with an internet connection to create professional-looking videos without breaking the bank. In this article, we’ll explore some of the best free movie makers and how they can help you create amazing visuals for your projects. We’ll also look at tips and tricks for making the most out of these tools so that you get great results no matter what your budget is. So if you’re ready to learn more about creating stunning visuals without spending a fortune, let’s dive in!
Planning and organization

Planning and organization are key to creating a successful video on a budget. Start by gathering ideas for your content and brainstorming how you can best present the visuals. Look up tutorials online to learn more about the technical side of video production, such as shooting techniques, editing software, and more. Once you have an idea of what kind of video you want to create, start making a budget and planning out what tools and materials you will need. Consider using free software such as Adobe Spark Video or WeVideo which offer free movie makers with many useful features for creating great videos without spending money. Additionally, consider using stock footage or royalty free images for additional visuals.
When creating your video, think about organising it in sections or themes so viewers can understand the story better. If possible, create mockups or sketches of how the final product would look like before starting filming. This will help ensure that you don’t miss anything important in the actual shoot and also give you a good starting point for editing afterwards. Finally, double check if there are any relevant laws or regulations you need to be aware of when producing your video – for example copyright laws if you’re using music or images from other creators – so that your final product is legally sound before publishing it online!
Decide on the purpose of the video
Deciding on the purpose of the video is an important step in creating a successful video on a budget. It’s important to have a goal for the video so that you can create content that is focused and directed towards achieving that goal. For example, if the purpose of the video is to educate viewers about a specific topic, then the content should be crafted in such a way as to provide viewers with clear information and helpful tips. On the other hand, if the purpose of the video is to entertain viewers, then it should be crafted using visuals, music, and humour that will capture their attention.
Whatever purpose you choose, make sure that your content and visuals are well thought out and planned accordingly. This means researching any relevant topics associated with your chosen topic and gathering facts or data to include in your script or visuals. Additionally, when drafting visual elements such as animations or graphics related to your topic, try to use higher semantic richness to effectively communicate what you aim at conveying. Higher semantic richness means using visual elements that are more meaningful than simple images or text – for example incorporating symbolism into visuals or providing vivid descriptions when writing dialogues instead of relying only on one-word phrases.
Recruit your friends

Recruiting friends can be a great way to create a video on a budget. Ask your friends if they would like to help out with the project and assign them tasks that are appropriate for their skills. If you know someone who is experienced in video production, consider asking them to create storyboards or edit the footage. For sound design, you could ask someone with musical experience to compose a soundtrack for your film. Additionally, you could look for people who have expertise in visual effects, such as motion graphics and graphic design, and enlist their help in creating visuals for your video.
When recruiting your friends, make sure that everyone is clear on their roles and responsibilities. Assign deadlines so that the project can stay on track and coordinate communication so everyone knows what needs to be done and when it needs to be done by. The clearer everyone is about their tasks, the smoother the production will go – resulting in better quality visuals at the end of the day.
Make an interesting concept

Making an interesting concept for your video is key to creating a successful product that will capture your audience’s attention. Start by brainstorming ideas and themes that could be used in the video. Consider using symbolism, metaphors, humor, and other techniques to engage viewers and keep them interested to watch until the end. Additionally, make sure your concept is relevant to the topic you’re trying to discuss or showcase. This will help viewers understand the point of your video better and create a stronger connection with them.
To add higher semantic richness to your concept, try incorporating visuals or sounds that evoke a certain emotion or atmosphere. For example, if you’re making a video about climate change, consider adding music that has an ominous tone and sound effects like thunderstorms or waves crashing against rocks in order to create a sense of urgency about the topic. Additionally, you can use images of polluted areas or wildlife affected by climate change as visual cues to emphasize your topic further.
No matter what concept you choose for your video, make sure it is clear, concise, and logical so viewers can easily follow along with the story without becoming bored or confused. Finally, don’t be afraid to experiment with different concepts – as long as you have an interesting idea at the core of it all!
Try to stick to just one location
When creating a video on a budget, it is best to stick to just one location. This helps to keep the production costs down and simplifies the post-production process. When choosing a location, consider factors such as access to natural lighting, availability of props or set designs, overall atmosphere of the space, and potential legal restrictions when shooting in public or private spaces.
It is also important to consider the visuals when shooting at your chosen location – make sure there is enough space for camera movement and that you can make use of natural features such as framing through doorways or window frames. Additionally, think about how different angles and compositions can help emphasize certain elements of your story or visuals in order to add higher semantic richness. For example, if you are filming a dialogue scene between two characters then try shooting from different angles such as close ups for emotional scenes and over the shoulder shots for conversations between characters.
Make sure to have good lighting

Good lighting is essential for creating a professional looking video. When shooting indoors, make sure to use either natural light or artificial lighting sources such as lamps, LEDs, or softboxes to fill in shadows and create a more balanced look. For outdoor shoots, take advantage of the natural light available—the sun can be used to spotlight your subject or provide backlighting for silhouettes. Additionally, consider using reflection boards, bounce cards, and diffusion materials to soften the light and reduce harsh shadows on your subject’s face.
When choosing a lighting setup for your video project, think about the aesthetic you want to achieve. For example, if you want a dramatic look, choose harsher lights that will create more contrast between shadows and highlights; whereas if you want a softer look with subtle shadows then consider using multiple diffused lights from different directions. Additionally, consider using gels on the lights to add colour accents such as warm or cold tones depending on the mood you are trying to evoke.
In order to keep costs low when setting up lighting for your project, consider renting equipment from local shops instead of buying it outright – this can help save money while still achieving excellent results. Additionally, make sure you have tested your equipment prior to shooting so that there are no surprises during production! Finally, practice controlling the amount of light being used so that you can adjust it depending on what the scene requires – this helps avoid wasting time during post-production by having to re-light each individual shot later on.
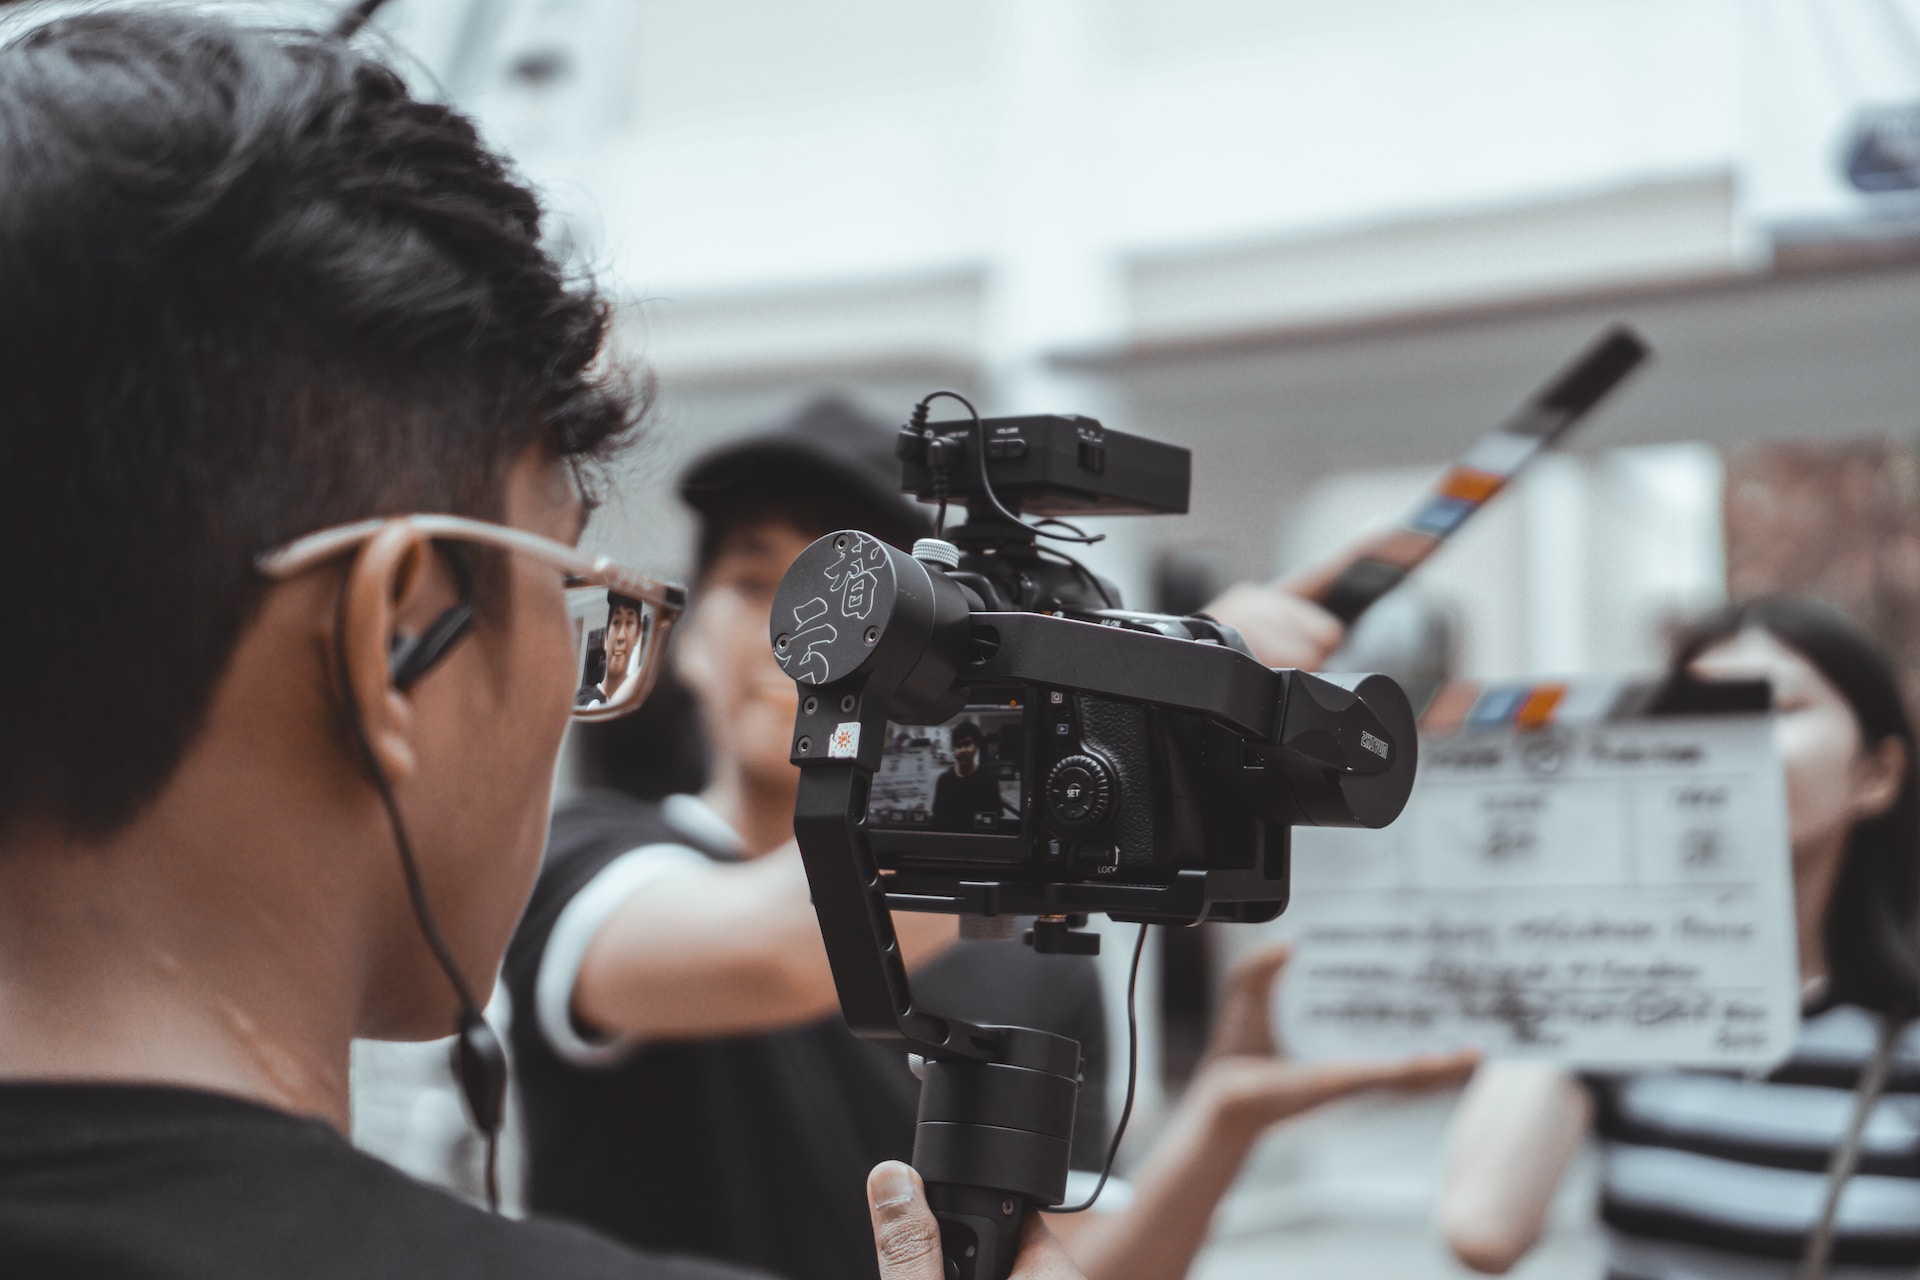
Work on your camerawork
Good camerawork is essential for creating a professional looking video. When shooting, take into consideration the angle of the camera, such as high and low angles to add variety. Additionally, consider using horizontal or vertical tracking shots to add more movement to your footage, as well as establishing shots to set the scene for viewers.
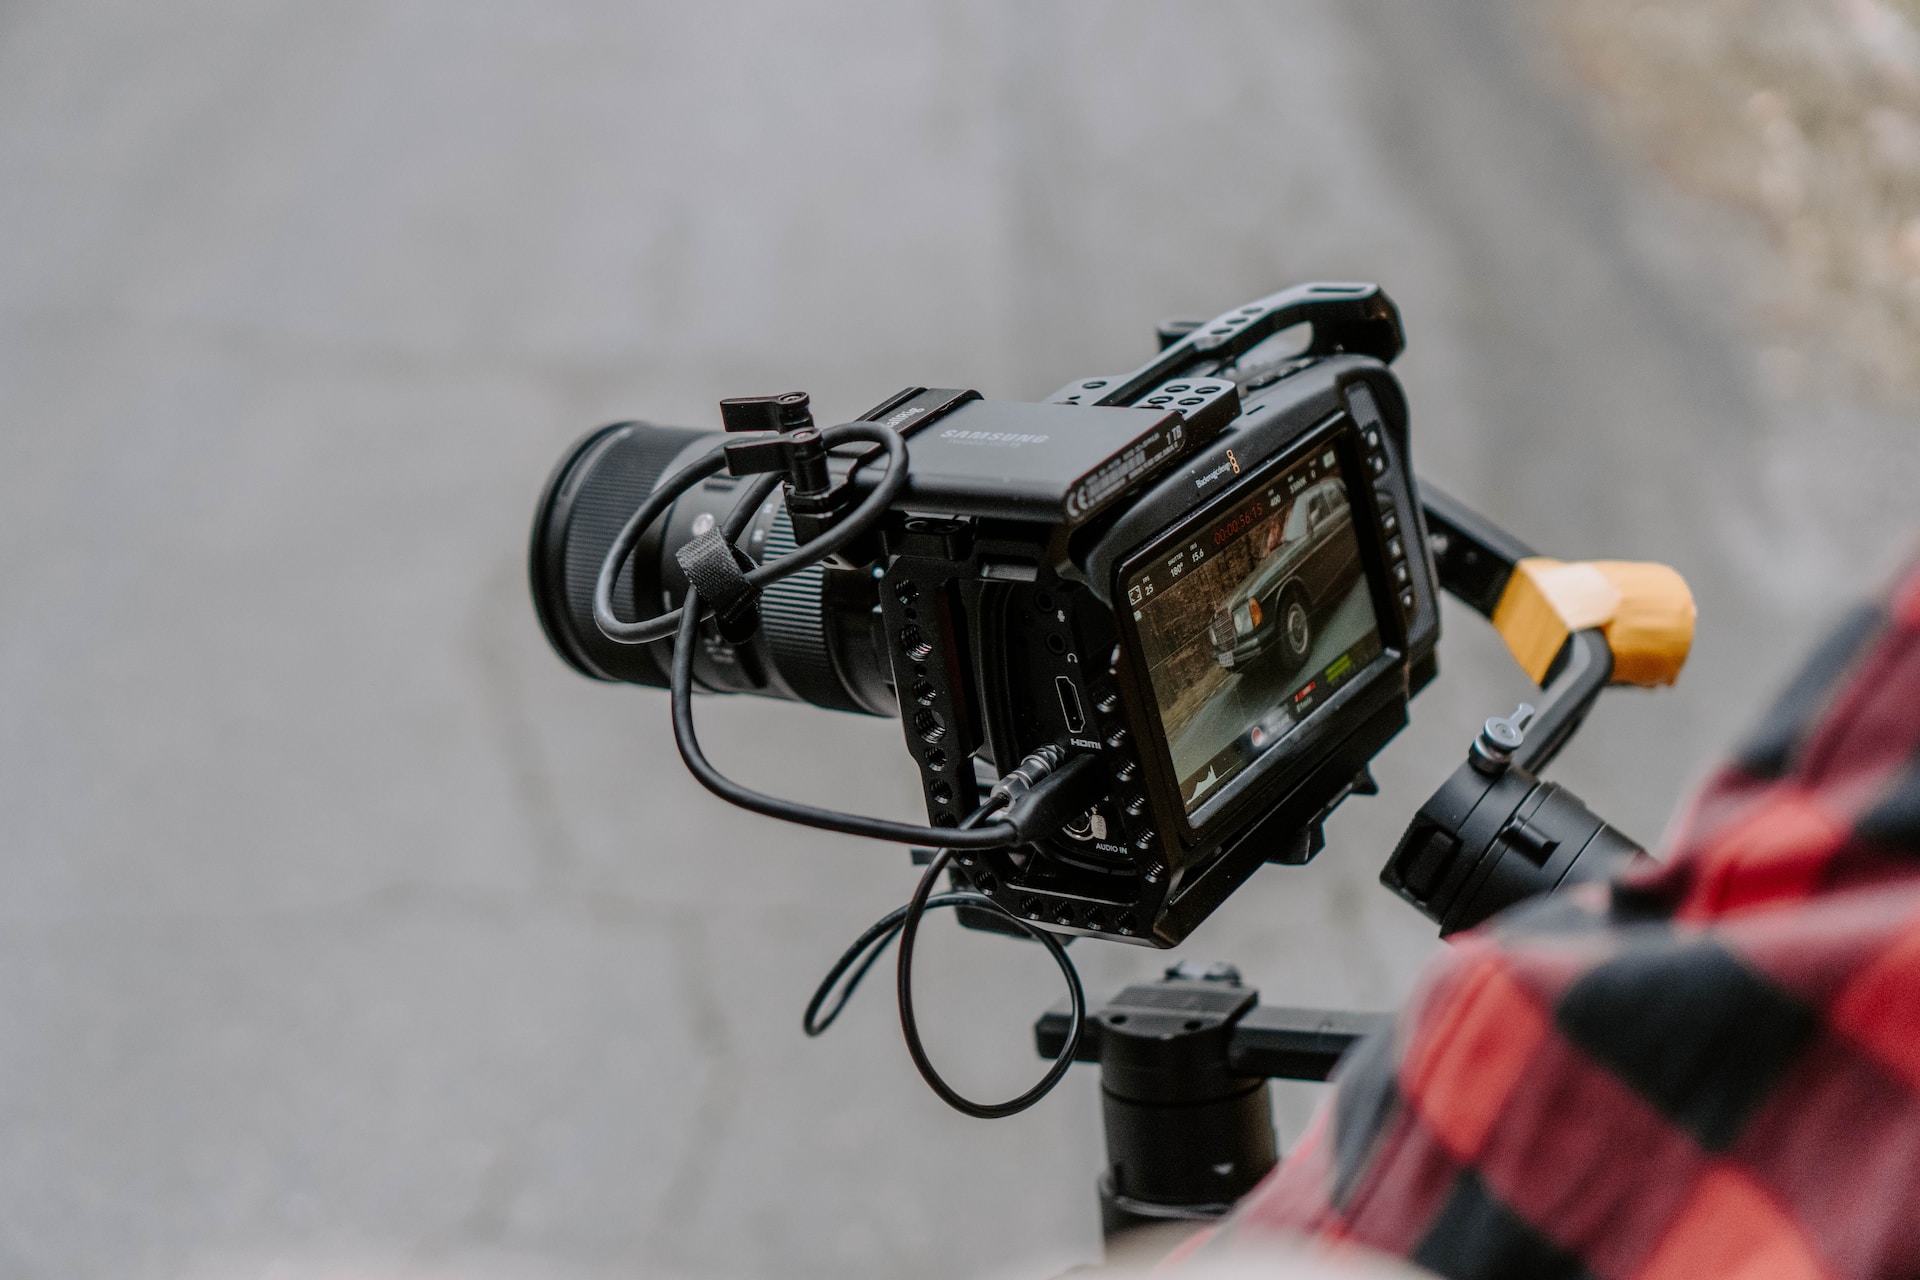
When choosing a camera setup for your video project, think about the type of lens you want to use. Wide angle lenses can be used to capture larger scenes in one shot whereas telephoto lenses are best suited for close up shots that focus on small details or capturing subjects from a distance. Additionally, consider using specialty lenses such as fisheye lenses for a unique look or tilt-shift lenses for miniature scenes and shallow depth of field effects.
When shooting handheld shots, make sure you are aware of your body’s movements and position in order to keep the footage steady and balanced. Alternatively, consider mounting the camera on a tripod or stabilizer if you want smoother footage with less shake – this also helps with keeping your shots framed consistently throughout your video project. Finally, practice using manual settings on your camera when shooting so that you can adjust it depending on what the scene requires – this will help avoid having to re-adjust white balance or exposure during post-production later on.
Edit your result
Once you have completed your shoot, it’s time to edit your result. Editing your video is an essential part of creating a successful product that will engage viewers. Start by downloading the footage onto your computer and organizing it into different folders or sub-projects for easier access. Then, import the footage into editing software such as Adobe Premiere Pro or Final Cut Pro in order to begin piecing together different shots or scenes.
When you are selecting shots to include in your video, look out for specific details that add higher semantic richness – this could be anything from close-up facial expressions to wider landscape shots that give context to the overall story. Additionally, think about how adding sound effects or music can help emphasize certain moments in the video and create a more immersive experience for viewers. You should also consider using visual effects such as slow motion or color grading in order to make certain scenes stand out from one another and add texture to the visuals.
Finally, when editing your video, always make sure to review what you have created and double-check every scene before moving on – this helps ensure that everything is of high quality and will be engaging for viewers. Once you are happy with the final product, you can export your finished video and share it with others!
Desktop video editors
Desktop video editors offer users the ability to create professional-looking videos in the comfort of their own home. One of the main advantages of desktop video editing is that it requires minimal technical knowledge and can be done quickly and easily. Desktop video editors are also typically more cost effective than other types of editing software, making them a great option for those on a budget. Additionally, desktop video editors come with a wide range of features, enabling users to make more detailed edits such as color grading, motion tracking, and more.
However, one of the drawbacks to using desktop video editors is that they require powerful hardware in order to run smoothly and efficiently. Additionally, there is usually less flexibility with these programs compared to other types of editing software – for example, some may not support certain formats or lack certain features such as plugin compatibility or non-destructive editing capabilities. Furthermore, many desktop video editors do not come with free technical support which can be frustrating if you encounter any issues while using the program.
Mobile video editors
Mobile video editors offer users the freedom to edit videos on the go, without having to be tied down to a desktop computer. One of the main advantages of mobile video editors is that they are often free and easy to use, with many offering intuitive interfaces and simple workflows. Additionally, these programs typically have fewer features compared to desktop video editors – this makes them ideal for those who just want to make basic edits or quickly assemble footage into a final product. Mobile video editors also tend to be more lightweight and less resource-intensive than their desktop counterparts, making them well-suited for phones and tablets with limited memory.
However, one of the drawbacks of using mobile video editors is that they tend to lack more advanced features such as color grading or motion tracking – though some may offer plugins or in-app purchases allowing access to additional tools. Additionally, mobile video editors often require you to upload your footage from an external device such as a camera or smartphone which can be time consuming depending on how much you need to transfer. Furthermore, because these programs run on smaller devices such as phones and tablets, their performance may not be as reliable compared to stronger hardware found in computers.
Online video editors
Online video editors offer users the flexibility to edit videos without having to be tied down to one device or location. One of the main advantages of using online video editors is that they can be accessed from anywhere with an internet connection, allowing for greater collaboration and mobility when creating projects. Additionally, these programs typically come with a wide range of features such as plugins and templates that allow users to customize their projects and make more intricate edits – this makes them well-suited for those who are looking to create more complex or professional-looking videos.
However, one of the drawbacks of online video editors is their reliance on an internet connection in order to use them effectively. This can be problematic if you have unreliable or slow speeds, as it can lead to long upload/download times and even interruptions when trying to access certain features. Additionally, many online video editors require a subscription in order to use all of their features – this can add up over time compared to basic desktop or mobile editing programs which are often free. Furthermore, because these programs run in the cloud, they may not have the same performance capabilities as similar programs ran on a computer – this could lead to slower render speeds and longer wait times for your final product.
How to choose the best video editor
When choosing a video editor, there are several factors to consider in order to make sure that your project is a success.
- One of the most important considerations is the type of editing software you use – while some editors are more targeted towards beginners and hobbyists, there are also professional level programs such as Adobe Premiere Pro or Final Cut Pro that allow for higher levels of customization and creativity. It is important to take the time to research different types of software and find the one that best suits your needs.
- In addition to the type of software, you should also consider factors such as ease-of-use, features offered, pricing options, compatibility with other programs, and customer support. Ease-of-use is especially important when it comes to video editors as it helps ensure that users can quickly learn the basics and create high quality results without spending too much time struggling with complicated controls or settings.
- When assessing features, think about what type of project you want to create and what capabilities you will need in order to achieve your desired outcome. For instance, if you want to make a short film then look for an editor that has advanced timeline tools such as keyframing or color correction capabilities; whereas if you want to create an explainer video then choose an editor with animation tools so that you can easily add graphics or motion elements into your work.
- Finally, make sure to compare pricing options between different editing programs before making a decision – free versions may be ideal for simple projects but they often come with limited features so investing in paid software may be necessary if you require more control over your final product.
- Additionally, check compatibility with other programs since some video editors have unique file formats which means they may not work with certain devices or applications. Finally, look out for customer support since this can provide helpful guidance if any technical issues arise during production.
Overall, choosing the right video editor can be a daunting task but researching different options beforehand can help ensure that you get the most out of your project and create something truly special!
Conclusion
Creating a stunning video on a budget is possible if you take the time to plan out your project and consider all of the elements involved. From selecting an appropriate camera setup, shooting with intention, and using manual settings for optimal results – to choosing the best video editor based on features offered, pricing options, compatibility with other programs, and customer support – there are many steps that must be taken in order to create professional looking videos. With these tips in mind however, anyone can make amazing content without breaking their budget! So go ahead and get creative – let’s see what amazing things you come up with!

Steven Adams, a former bank assistant, is now the founder of a tech news website. With a passion for staying up-to-date with modern advancements, Steven delivers insightful and accessible content to keep readers informed about the evolving world of technology.
Join him on his journey to uncover the latest tech news and explore groundbreaking innovations.