
Are you prepared to take the plunge into the wild and wacky universe of screencasting? Whether you’re a knowledge-spewing educator, a tech wizard itching to flaunt your cutting-edge app, or just a regular Joe who dreams of showing off their screen to the masses, you’ve landed in the perfect spot. In this all-encompassing handbook, we’ll be your trusty tour guides through the thrilling terrain of screencasting, unveiling five top-secret techniques to craft mind-blowing screencasts that’ll leave your audience both astounded and amused. So, grab your imaginary director’s megaphone and let’s embark on this zany screencasting adventure!
Why Should You Make a Screencast?
Before we delve into the “how,” let’s explore the “why.” Why should you consider making a screencast? Well, there are several compelling reasons:
- Effective Communication: Screencasts are like the secret agents of the information world, sneaking into your brain with their spy gadgets (screens and pointers) to unveil the mysteries of complex ideas, processes, or concepts. Forget about the old-school text and those boring static images – screencasts are here to give you a thrilling, action-packed tour of how things work, complete with step-by-step demonstrations that’ll have you on the edge of your seat!
- Engagement: People are naturally drawn to visuals. Screencasts can keep your audience engaged and interested in your content. It’s like having a front-row seat to your computer screen.
- Demonstration: If you’re a software developer, screencasting is an excellent way to demonstrate the functionality of your product. Users can see it in action, which can boost their confidence in your software.
- Education: Screencasts are widely used in education. Teachers and instructors can create engaging video lessons that cater to different learning styles.
- Documentation: Screencasts can serve as valuable documentation for various tasks. Whether it’s troubleshooting a technical issue or explaining a new process at work, screencasts can be a lifesaver.
Now that you understand the “why” let’s move on to the “how.”
Method 1: Using Built-In Screen Recording Tools
Creating a screencast doesn’t have to be complicated or expensive. In fact, you may already have everything you need right at your fingertips. Most operating systems come equipped with built-in screen recording tools that are both user-friendly and efficient. Let’s take a look at how to use them:
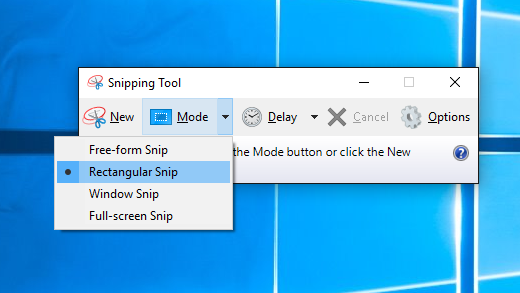
For Windows Users:
- Open the Xbox Game Bar: Press Win + G to open the Xbox Game Bar, which includes a screen recording feature.
- Start Recording: Click the “Start Recording” button in the Xbox Game Bar. You can also use the Win + Alt + R shortcut to begin recording.
- Stop Recording: When you’re finished, click the square “Stop Recording” button in the Game Bar or press Win + Alt + R again.
For macOS Users:
- Use QuickTime Player: Launch QuickTime Player, go to “File,” and select “New Movie Recording.”
- Select Your Source: Click the arrow next to the record button and choose your recording source, which includes your screen.
- Start and Stop Recording: Click the red record button to start recording your screen, and click it again to stop.
Pros of Using Built-In Tools:
- Accessibility: They are readily available on your computer, so there’s no need to download third-party software.
- Ease of Use: Most built-in tools are intuitive and beginner-friendly.
- No Cost: They are completely free to use.
Cons of Using Built-In Tools:
- Limited Features: Built-in tools may lack advanced features like video editing and annotation.
- Platform-Specific: Some tools are exclusive to Windows or macOS, which may not be suitable for cross-platform needs.
Using built-in tools is an excellent choice for those getting started with screencasting or those who need a quick and straightforward solution. However, if you’re looking for more advanced features, read on.
Method 2: Third-Party Screencasting Software
While built-in tools are handy, third-party screencasting software takes things to the next level. These applications offer a wide range of features and customization options, allowing you to create professional-quality screencasts tailored to your specific needs.
Some Popular Third-Party Options:
- Camtasia: Known for its robust editing features, Camtasia is a favorite among content creators. It offers screen recording, video editing, and interactive quizzes.
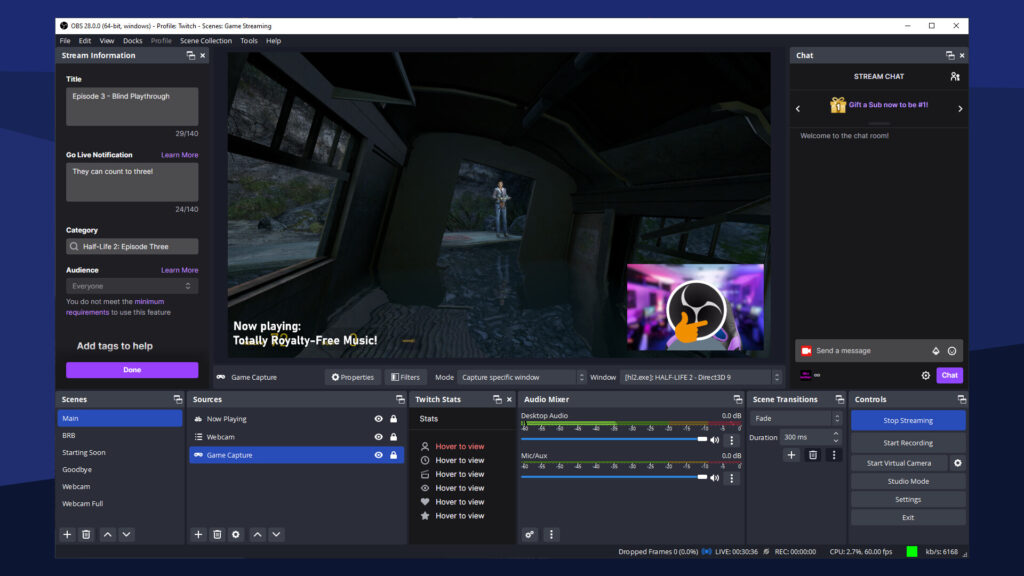
- OBS Studio: This open-source software is beloved by gamers and streamers. It provides advanced customization options and is suitable for live streaming.
- ScreenFlow: A top choice for Mac users, ScreenFlow offers high-quality screen recording and video editing capabilities.
- Screencast-O-Matic: A user-friendly tool that offers both free and paid versions. It’s great for quick and simple screencasting.
Pros of Third-Party Software:
- Advanced Features: You can access a wide range of editing, annotation, and customization options.
- Professional Quality: These tools allow for high-quality recordings and polished final products.
- Cross-Platform: Many third-party software options are available for both Windows and macOS users.
Cons of Third-Party Software:
- Cost: Some third-party software comes with a price tag, though many offer free trial versions.
- Learning Curve: These tools can be more complex for beginners, requiring some time to learn.
Method 3: Web-Based Screen Recorders
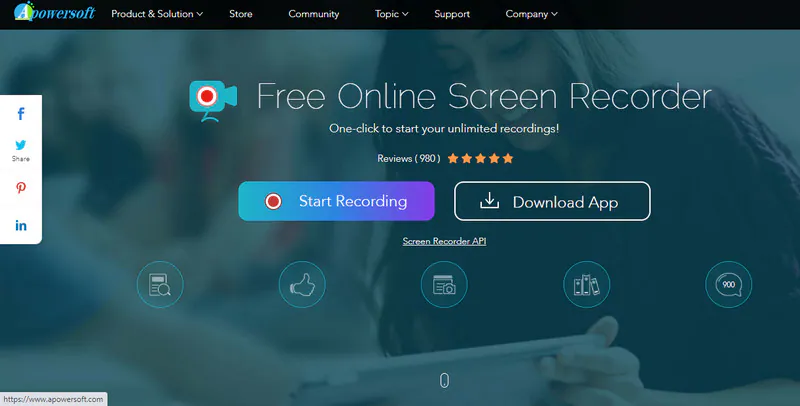
If you’re looking for flexibility and convenience, web-based screen recorders are an excellent choice. They don’t require any installation, and you can access them from any device with an internet connection. Here’s how they work:
Step 1: Find a Web-Based Screen Recorder
There are several web-based screen recording tools available, and many of them are free. Simply search for one using your preferred search engine.
Step 2: Launch the Recorder
Once you’ve chosen a web-based screen recorder, click the “Launch” or “Start Recording” button on their website.
Step 3: Configure Settings
Most web-based recorders will allow you to adjust recording settings such as video quality, microphone input, and screen region.
Step 4: Start Recording
Click the “Record” button to begin capturing your screen and audio.
Step 5: Save and Share
After you’ve finished recording, the web-based tool will usually provide options for saving and sharing your screencast.
Pros of Web-Based Screen Recorders:
- No Installation: They require no software installation, making them accessible from any device.
- Quick Setup: You can start recording within minutes of finding a web-based tool.
- Convenience: Many web-based tools offer one-click sharing options.
Cons of Web-Based Screen Recorders:
- Limited Features: They may not offer as many advanced features as desktop software.
- Internet Connection: You need a stable internet connection to use them effectively.
Method 4: Mobile Screencasting Apps
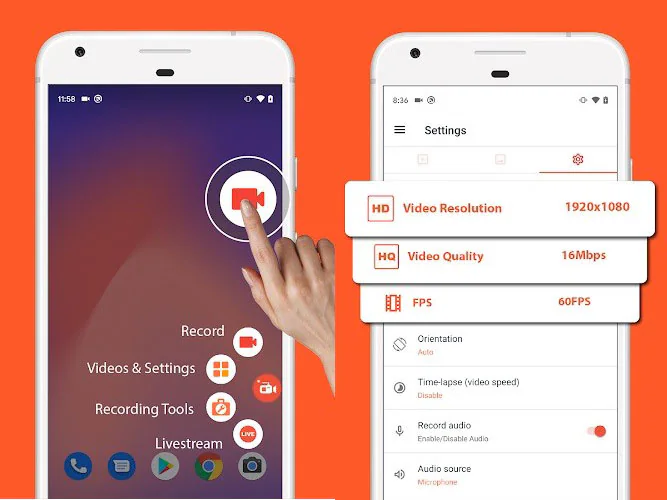
Screencasting isn’t limited to desktop and laptop computers. Mobile devices, such as smartphones and tablets, have become powerful tools for creating screencasts. This can be particularly useful if you want to demonstrate mobile apps or processes.
Step 1: Install a Screencasting App
Visit your device’s app store and search for a screencasting app. There are various options available for both iOS and Android.
Step 2: Configure Settings
Open the app and configure your recording settings. This may include choosing video quality, enabling microphone input, and adjusting other preferences.
Step 3: Start Recording
Press the record button to begin capturing your screen and any audio commentary.
Step 4: Edit and Share
Most mobile screencasting apps provide basic editing tools, allowing you to trim, add text, or insert graphics to enhance your screencast. Once you’re satisfied, share your masterpiece.
Pros of Mobile Screencasting Apps:
- Portability: You can create screencasts on the go, using your smartphone or tablet.
- App-Specific: Ideal for demonstrating mobile apps and processes.
- Ease of Use: Many mobile apps are designed to be user-friendly.
Cons of Mobile Screencasting Apps:
- Limited Editing: Mobile apps may offer fewer editing features compared to desktop software.
- Screen Size: The smaller screen size of mobile devices can make detailed screencasting challenging.
Method 5: Live Screencasting and Streaming
If you want to engage with your audience in real-time, live screencasting and streaming are the way to go. This method allows you to broadcast your screen and interact with viewers as they watch. It’s perfect for webinars, gaming, or live tutorials.
Step 1: Choose a Platform
Select a platform for live streaming, such as YouTube Live, Twitch, or Facebook Live. Create an account if you don’t already have one.
Step 2: Set Up Your Streaming Software
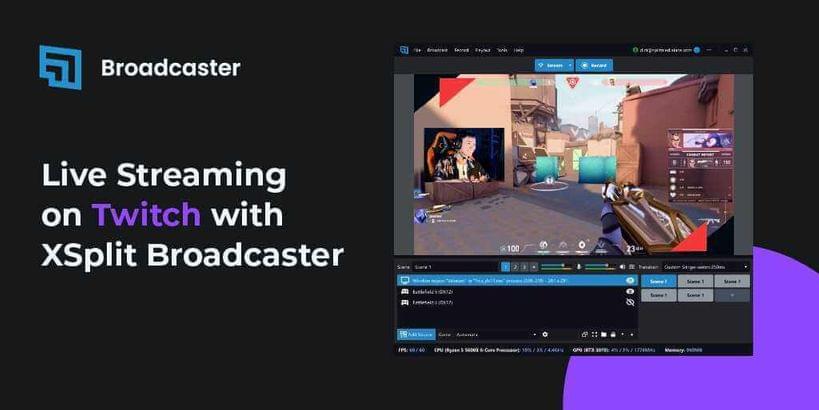
Use software like OBS Studio or XSplit to configure your stream settings. You’ll need to enter your streaming platform’s streaming key, which is provided when you create a stream.
Step 3: Prepare Your Content
Plan what you’ll share during your live screencast. This could be a presentation, gameplay, or a live tutorial.
Step 4: Go Live
Click the “Go Live” button in your streaming software to start broadcasting your screen. Interact with your audience through chat and respond to their questions or comments.
Pros of Live Screencasting and Streaming:
- Real-Time Interaction: Engage with your audience in real-time, answering questions and building a community.
- Wide Reach: Streaming platforms have a broad user base, potentially reaching a large audience.
- Monetization: Some platforms offer opportunities for monetization through ads, donations, or subscriptions.
Cons of Live Screencasting and Streaming:
- Technical Challenges: Live streaming can be technically demanding, requiring a stable internet connection and proper setup.
- Time Commitment: Live streams can be time-consuming, as you need to be present during the broadcast.
Conclusion
In the world of digital communication, screencasting is a powerful tool that allows you to convey your message effectively, engage your audience, and showcase your expertise. Whether you opt for built-in tools, third-party software, web-based recorders, mobile apps, or live streaming, the choice is yours. Consider your specific needs, audience, and goals when selecting the method that works best for you.
So, what are you waiting for? Start creating your screencast today, and let your creativity shine on the digital stage. With the right tools and a bit of practice, you’ll be making captivating screencasts that leave your viewers eager for more. Happy screencasting!

Steven Adams, a former bank assistant, is now the founder of a tech news website. With a passion for staying up-to-date with modern advancements, Steven delivers insightful and accessible content to keep readers informed about the evolving world of technology.
Join him on his journey to uncover the latest tech news and explore groundbreaking innovations.